I’ve done this project about a week ago already so I apologize for the late post. Anyway, using the similar main color scheme from the Sazabi and Sinanju, I applied the same Metallic Red color on the kits main armor parts.
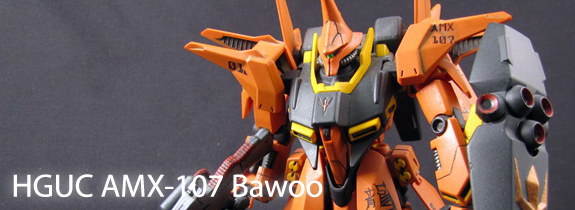
Here are the pictures of the second part of my work on the HGUC 1/144 Bawoo. I apologize for the blurry shots on some of the pics.
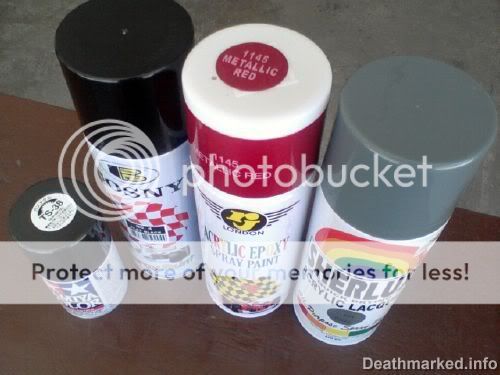
The spray can paints I've used.
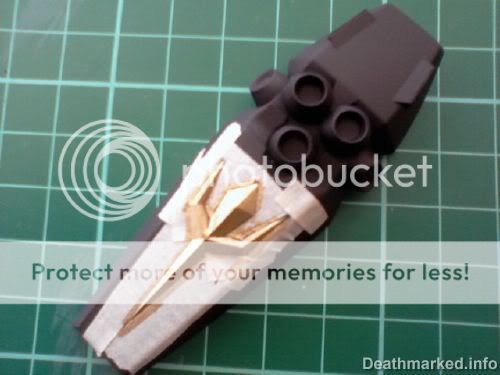
Masked the symbol on the shield and painted it with Gold paint marker.
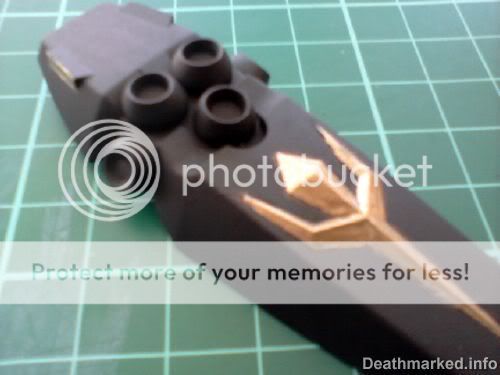
The painted shield with the Gold symbol.
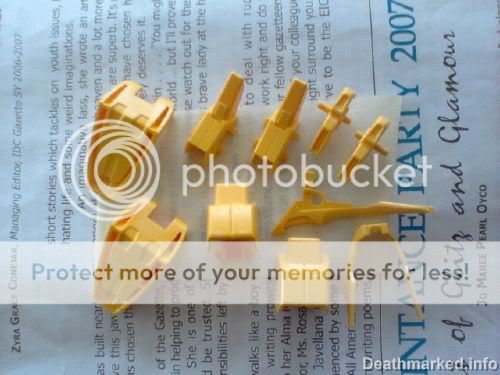
The yellow parts painted with Tamiya flat clear.
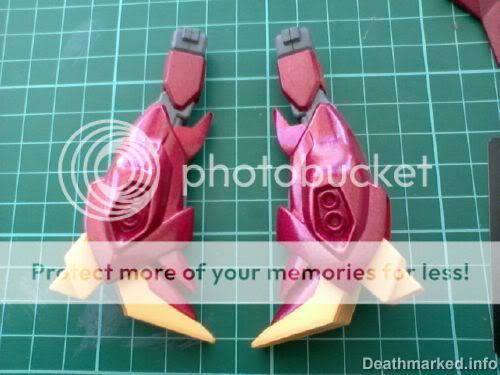
The assembled legs.
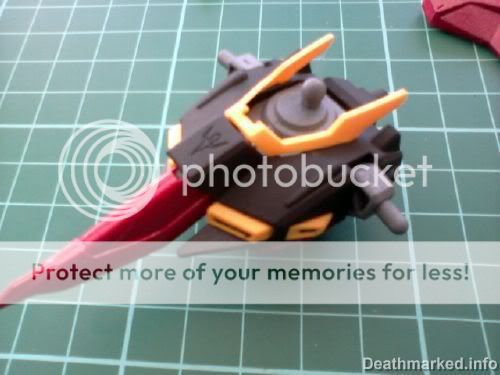
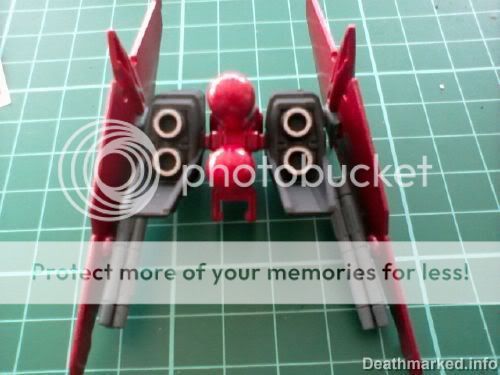
The torso partially assembled and looking like a plane already.
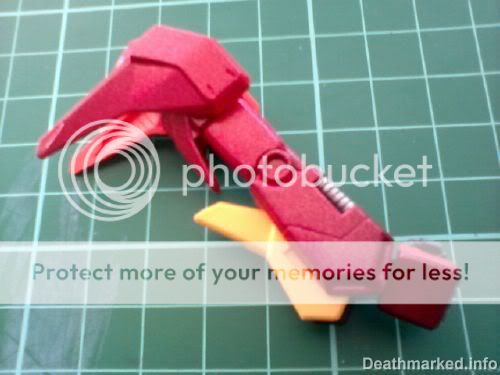
One complete arm assembled.
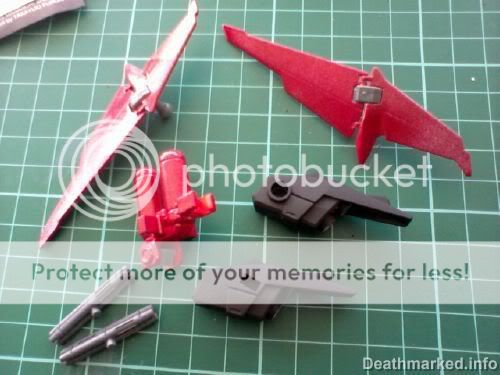
Parts of the back pack.
The assembled backpack.
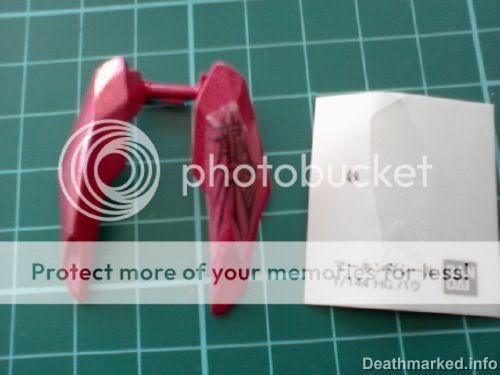
Placed the transparent sticker on the front waist pads.
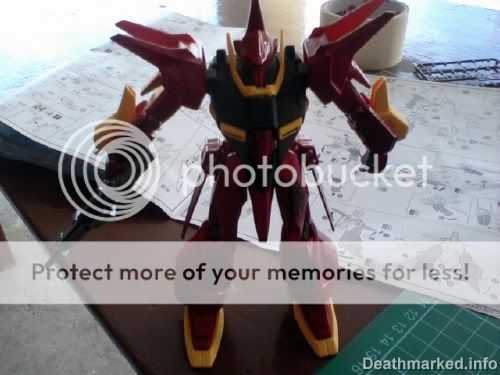
Whole body assembled.
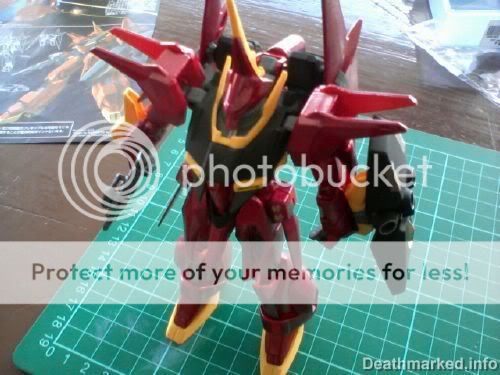
Full assemble with the backpack.
Now for the close up shots, I made this little slideshow. Enjoy!
Overall, I enjoyed building this kit despite the limit on the color choices. Also, I didn’t like the color yellow combined in theme with Metallic Red even if there were little yellow parts. If only I could find spray cans providing the right Gundam color. *sigh*
I guess that’s about it. Still got to work on some backlogs. Thanks for reading and until the next post.