
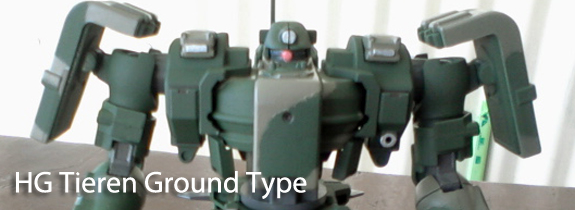
Taking some “next-level” Gunpla modeling, I’ve decided to try one of the popular Gunpla painting techniques which is the camouflage painting. The test kit is the 1/144 High Grade Tieren Ground Type of a bootleg brand (coz I don’t want to paint experiment on a Bandai).
What I’ve used to shape up the design for the two colors is the Blue Tack (as suggested in the tutorial) which I’ve bought at Ace Hardware. It was easy reshaping the substance but the problem is on removing it. You have to carefully inch it out of the plastic parts, or you’d end up ruining the paint. I also suggest that you make sure the paint is dry enough before you remove the adhesive.
I initially painted the kit with Forest Green camou color and to top it with Brown acrylic paint.
Here are the pics I took during the camo painting project:

The Blue Tack adhesive I used
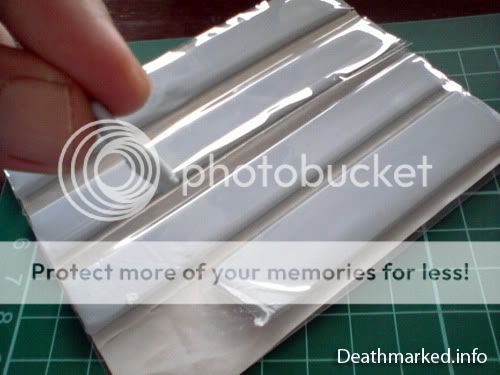
A look at the adhesive contents..
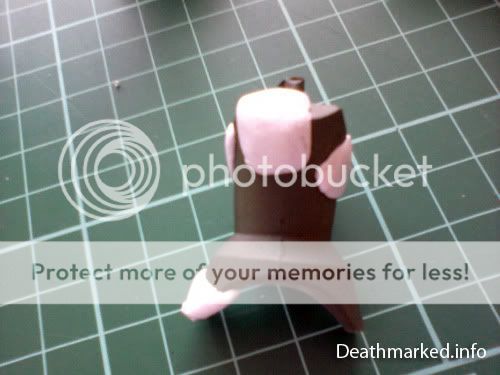
The leg part which I started to put in the blue tack.

A closer look on the part readied for painting.
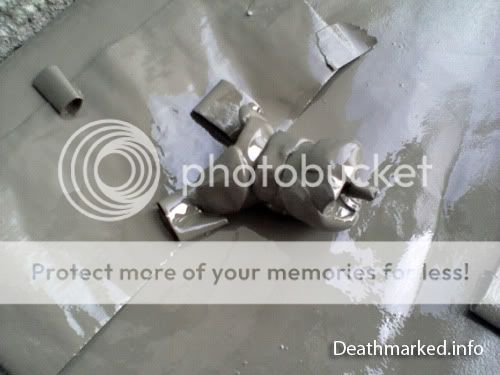
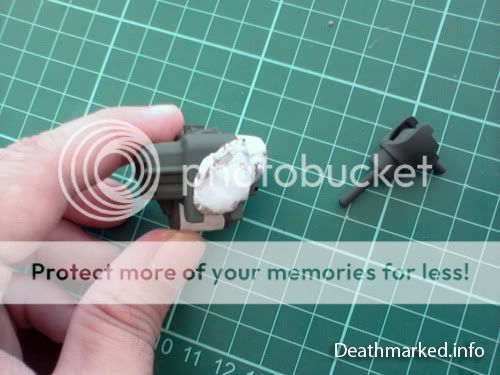
The painted part with the blue tack not removed yet.
The chest part of the Tieren readied with the blue tack design.
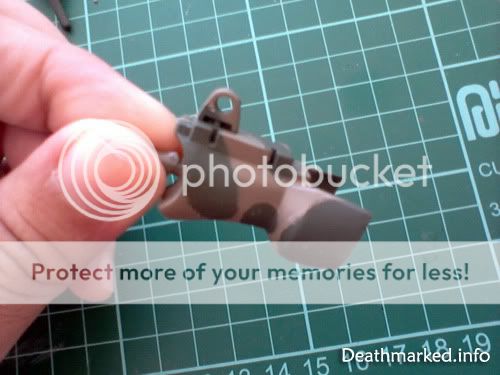
The leg part with the adhesive removed.
The finished chest part looking good.
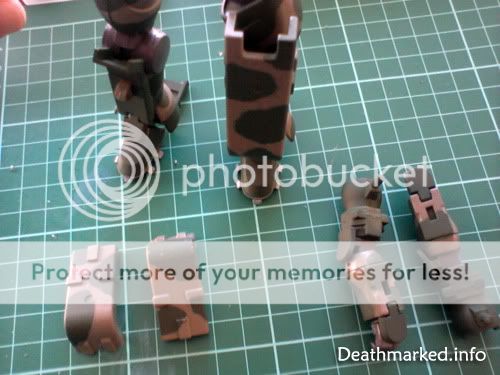
The rest of the parts with camo-painted finish.
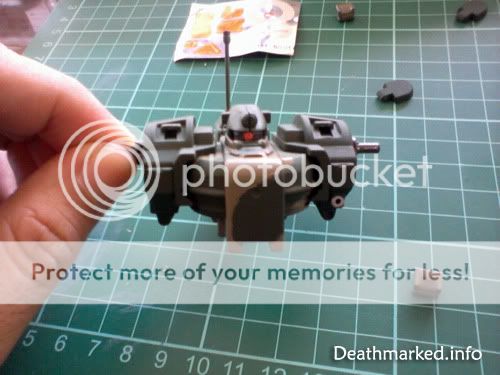
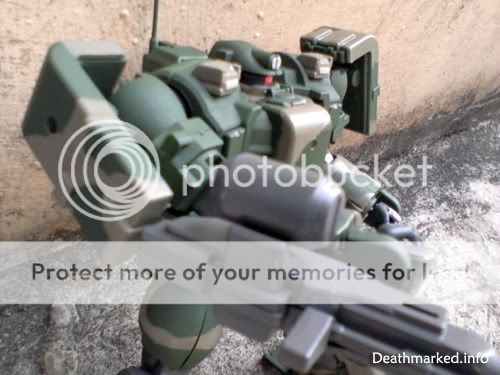
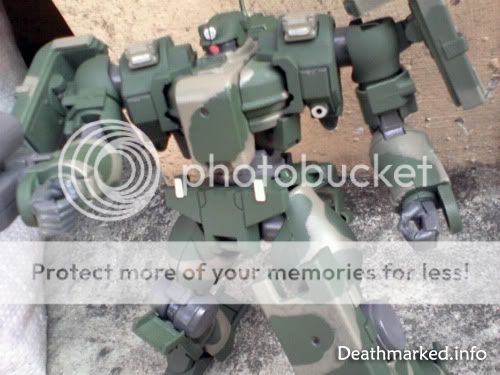
The assembled upper body part.
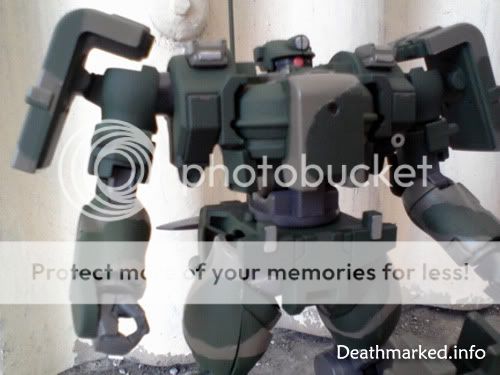
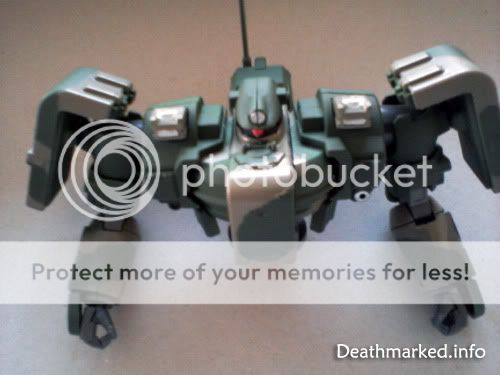
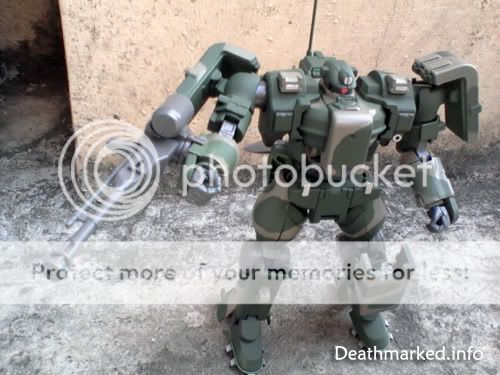
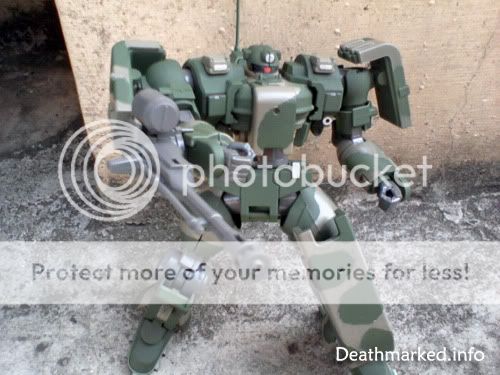
The HG 1/144 Tieren Ground Type camo painted.
Now for the photoshoot..
It was gruesome to carefully paint each part and then on removing the blue tack. It took me one whole day to complete the painting. In the end, it was fulfilling even though the camo paint was not 100% perfect. I’d try this again in the future with another camo color combination.
Thanks for reading and until next post! 😀