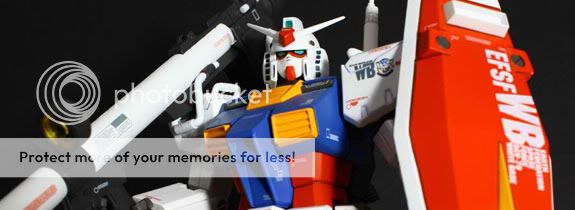
I’ve been getting busy this recent month on trying out a new “offline hobby” called Gundam modeling or popularly known as Gunpla. I recalled in my childhood that I’ve been buying these junk foods with free toy in it. There was this one toy that come in parts and need to be assembled first. Later on, I’ve known those to be from the Japanese cartoon show Macross.
Going back, I’ve discovered Gundam’s history on selling model kits started way back in the early 80’s. That line of business continued to be popular and gaining followers through the decades and up to this year. Anyway, that’s about it for history. What I am interested in particular on this hobby is the creativity and craft that you can do on each Gunpla model.
I’ve checked a few sites and videos on Youtube on how they do that and those look just amazing. It is easier said than done though, so I started checking on techniques on how the painting process is done (on my spare time of course). The two options I can take are to paint using airbrush or use spray cans for each specific color. Since I cannot afford to buy an airbrush kit with the compressor, I went with option B.
Asking from friends in Gundam Iloilo FB group and also having done a few research myself, I gave it a try to use spray cans on painting my models. The spray cans cost around 99 to 150 pesos depending on the color. The model I’ve chosen for the trial paint is the HG 1/144 Mobile Ginn from the Gundam Seed series, the first on which I am trying to collect. I’ve chosen the following spray paint colors for specific parts:
- Dark Green for main body armor color.
- Grey for the sword & rocket launchers.
- Flat Black for the laser gun.
I took pictures during the repainting process and here they are. I had included a few descriptions to explain the spray painting steps I’ve done.
Since the kit is assembled already, I had to separate each of the part again and arrange them in a taped cardboard to paint.
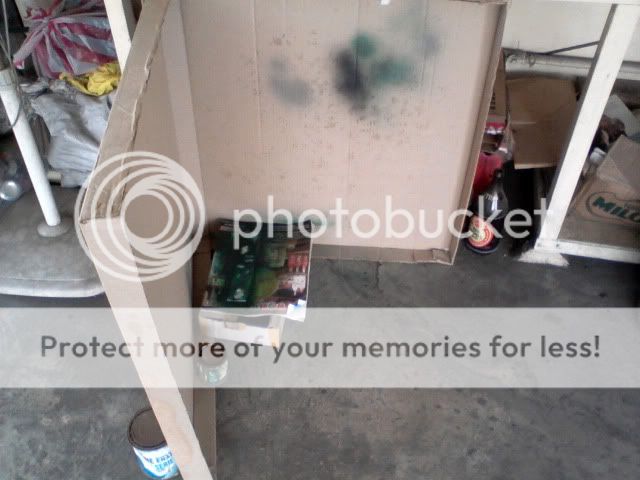
My temporary spraying area looked like this. It’s entirely made of trash cardboards I have found in the area. Lol.
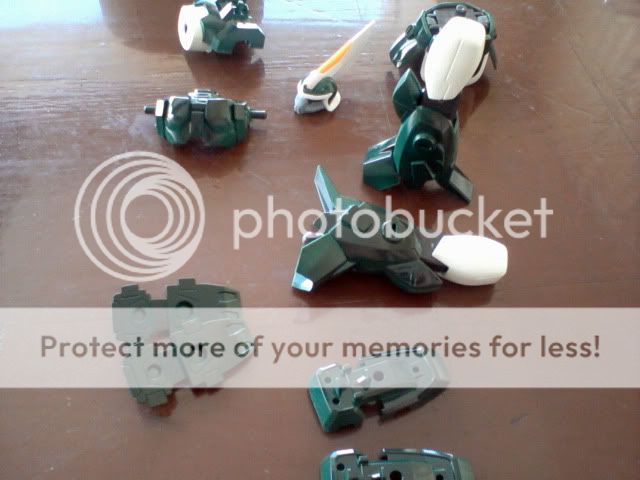
Here is the closer look of the parts I’ve painted with dark green.
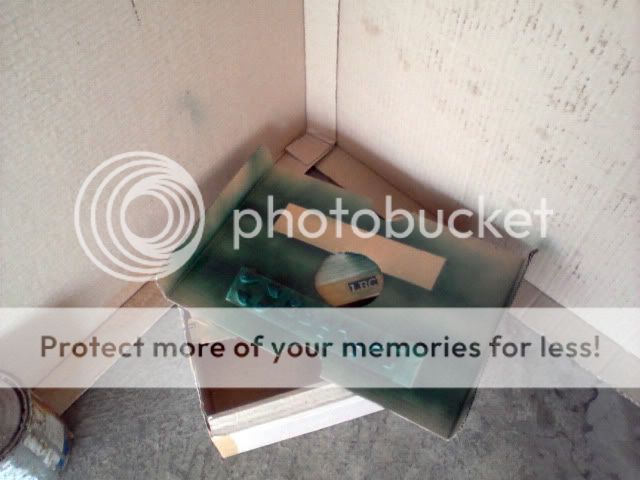
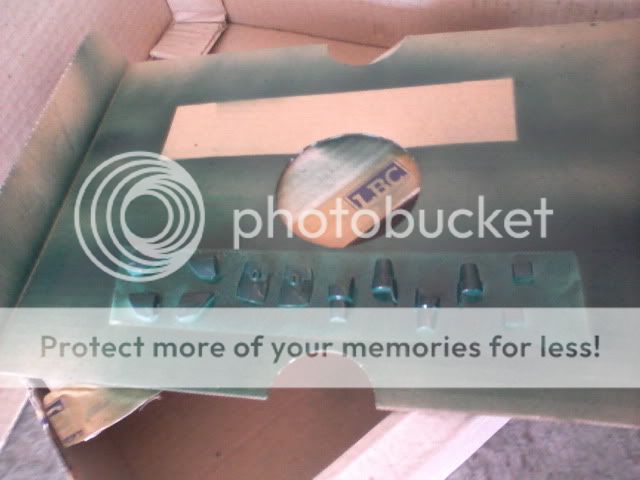
After painting, I left the parts to dry under the sun for about 5 minutes or so.
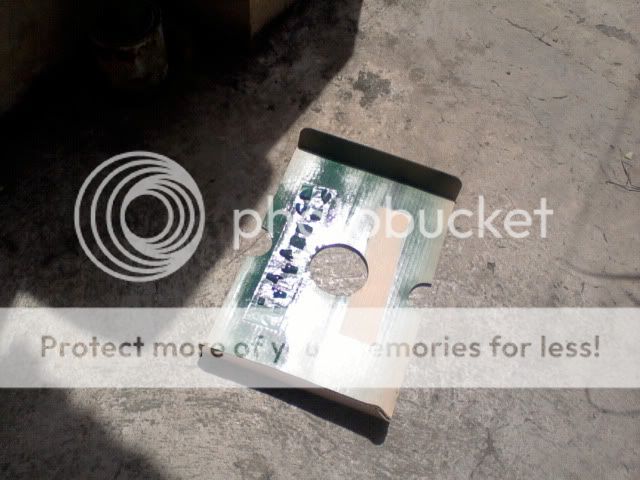
The first part to be painted was the wings. I got impressed by the results so I decided to finish painting the rest of the body armor.
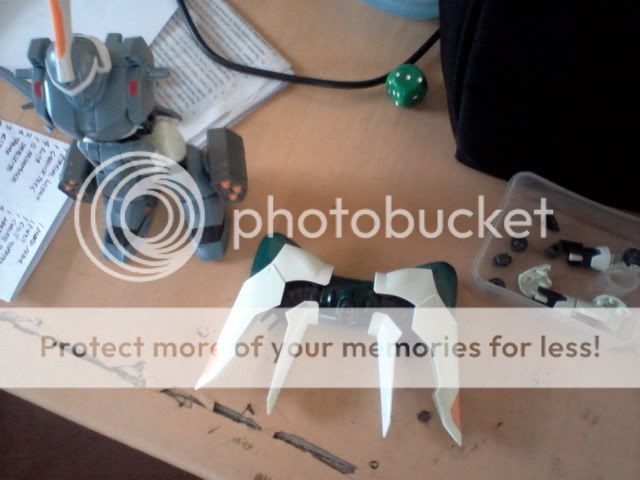
As for the rocket launchers, I used masking tapes to cover the orange parts.
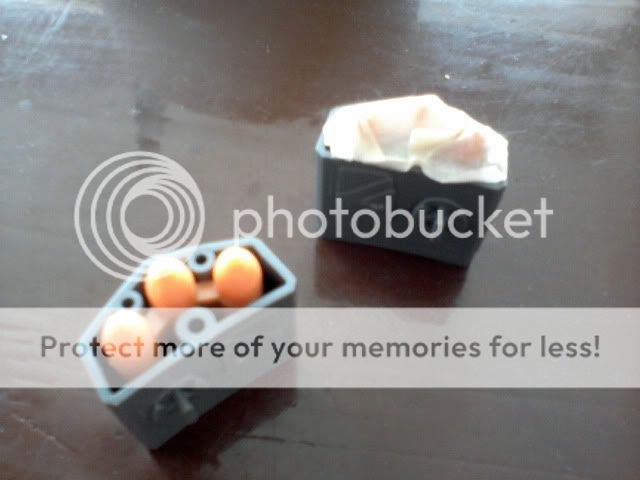
The laser gun and the upper part of the foot was painted flat black, and I was impressed with the results.
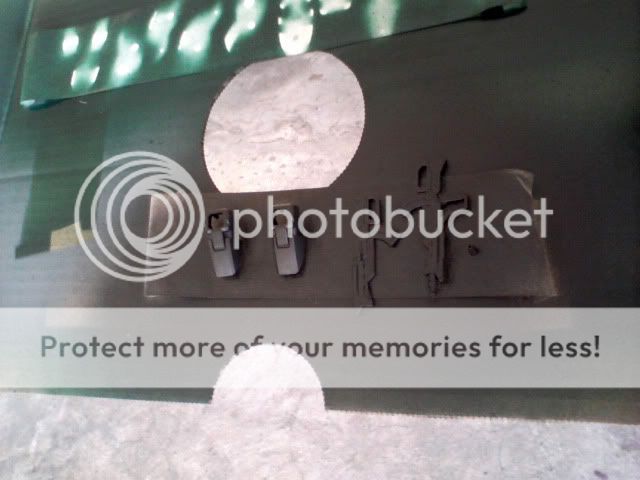
Here is the rest of the armor after painted. Look so shiny.
Finally, the completed and reassembled Mobile Ginn.
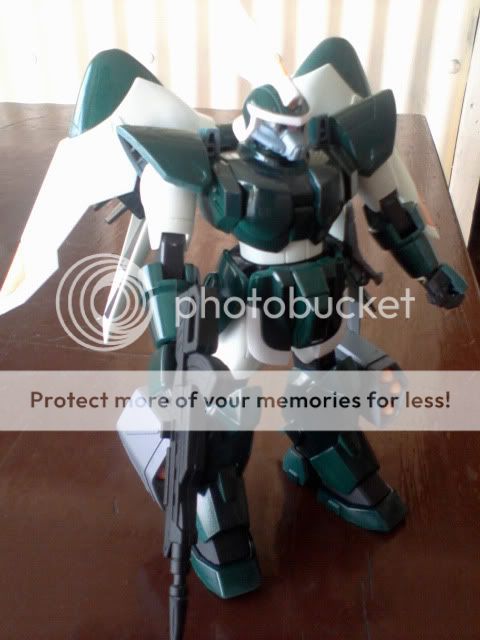
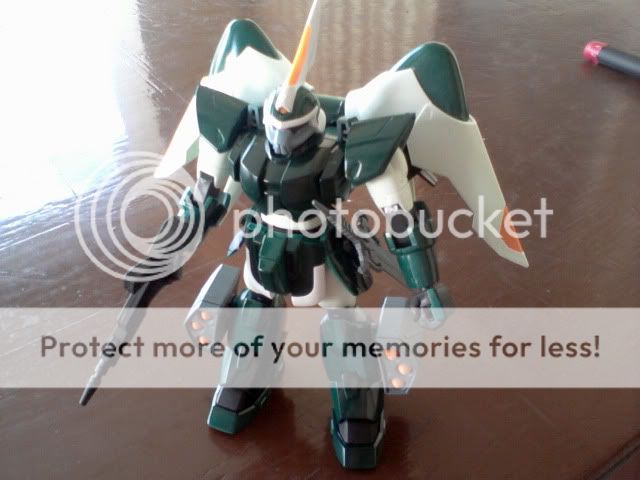
Not bad for a first timer eh.
My next step would possibly be adding panel lines and detailing the parts a bit. I’ll try to add weathering techniques in the future if I can get to purchase ideal paints for that, and maybe finish it up with a top coat.
To conclude, spray painting a Gunpla is quite a complicated and involves a lot of work. The best benefit though is you get to apply the techniques that you learn. Spicing it a bit with creativity and craft may lead to best results, or a trashed model. Just kidding. All I can say is never be afraid to experiment.
Thanks for reading and until the next post. 🙂
