Hi all, how are you doing? I just want to share with you guys a write up of my latest build project in my Gunpla collecting hobby. It was the latest but the project duration actually took two months. Let me explain that later on. The project was actually a big challenge for me in painting Gundams, both in finding the right color combination and creating a good theme.
So we do a few flashbacks. Way back in September I think, a FB group I’ve joined called Gundam Fans na Pinoy had announced a kit building contest called GFP 2012 Year-End Challenge TRANSVERSAL. This was a test of skills of the members on getting their kit associated with a certain personality or brand. The contest had four categories, two of each for the new comers and old timers.
Since I am just a noob in doing mods on kits (Category B), I joined Category A which was only on painting and color scheme edits.
At first I was hesitant as I might not find enough time to finish the kit, but then since I also wanted to test my skills in this hobby, I registered, a day before the deadline of entry confirmation. I was the sixth participant.
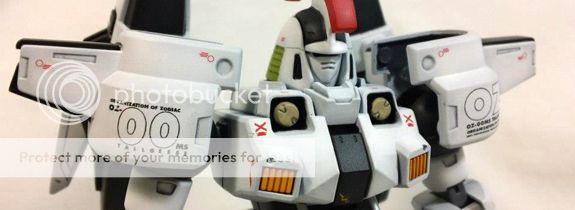
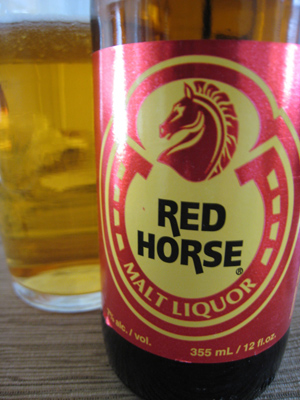 The entry I registered was the High Grade 144 Tallgeese I, with the color scheme plan of my favorite beer. That sounded easy at first, but as most dilemma of spray can users, it took me a lot of time in finding the right colors.
I initially decided to follow the colors of the bottle, however it would not look good in combination with Red. I ended up following the reference colors of a Tallgeese I done in DeviantArt. Those colors were Gold and Red with a little of Black.
The next problem was again finding the right Gold color to suit the color of the beer. I’ve scoured almost all the hardware shops in the malls, also checking a few in the downtown.
Based on the tutorials I’ve seen online, the right gold color was numbered 351, Bosny brand. Bad thing though is that it was out of stock on most of the stores I’ve checked.
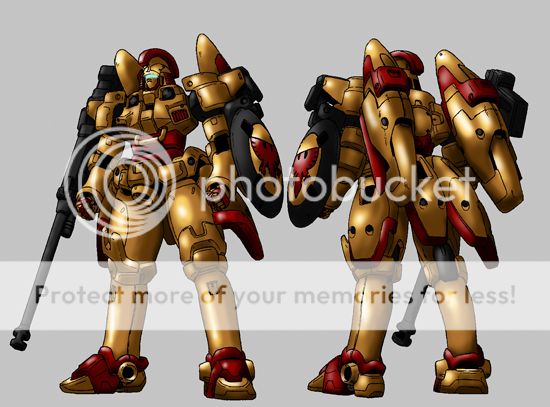
The reference color scheme from deviantArt
The plan B was to combine clear colors with Chrome to achieve a metallic finish. For example, Clear Red, or Clear Blue over a layer of Chrome paint. The spray cans though were not actually named in that exact term, rather having ‘Honda something’ in its labels.
I initially bought an RJ London brand of Honda Yellow but regretted it as it sprayed high amount of paint on my test parts. The nozzle was hard to control. I then decided to buy the recommended brand Bosny for that same color, and my replacement for Chrome was Metallic Silver which I bought few months ago.
I did some spray tests again and voila, it was a success. The paint combination turned out pretty good, and imitated enough my planned color. The actual painting started just this first week of December, after the Iloilo Comic Con.
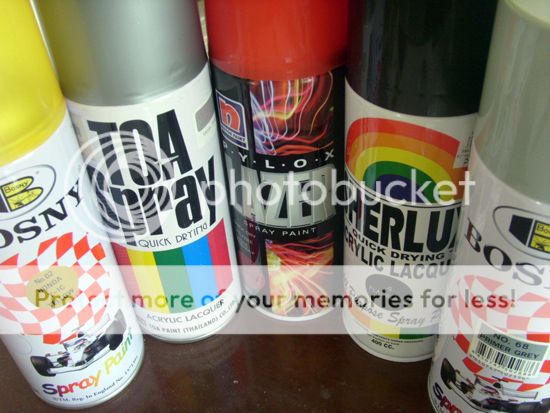
So for a few pics, here are the spray cans I’ve used:
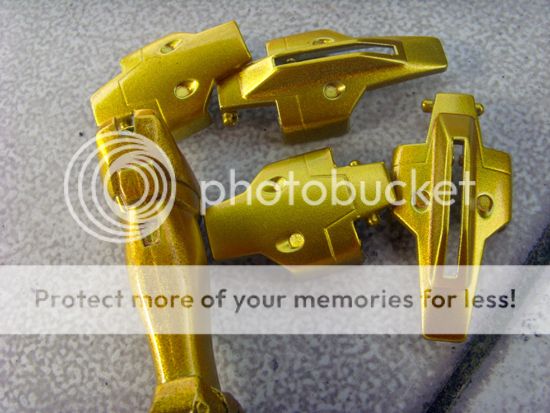
A few parts painted.
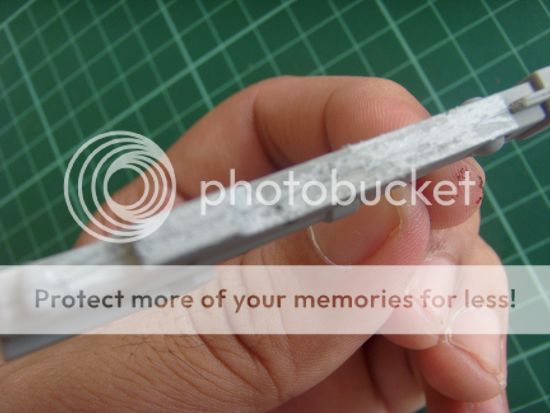
Seam lines removed on the long ranged beam rifle using Tamiya putty (which was my first time use).
I’ll end the talk at this point. For a clue, I was able to make it on the submission of my entry kit. The details are to follow on the part two of this blog post.
Thanks for reading and until next time.
*banner pic from Vegeta8259.